Step-By-Step Process of Installing Your Curly Headband Wig

Wearing a wig is a choice many make to enhance their appearance. At NiaWigs, we believe in turning you into your best version through wigs that make you feel beautiful inside and out. Among the many different types of wigs offered on our website, the headband wig is one of the most popular choices.
While short bob human hair wigs work great to give volume to your face, the headband wigs are on a different level when it comes to enhancing your look. Since they are easy to wear, they are preferred by millions of women around the world. If you are new to this type of wig, here is a step-by-step process on how to wear it properly.
Overview of Headband Wigs
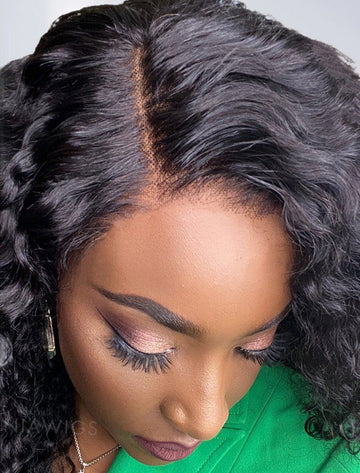
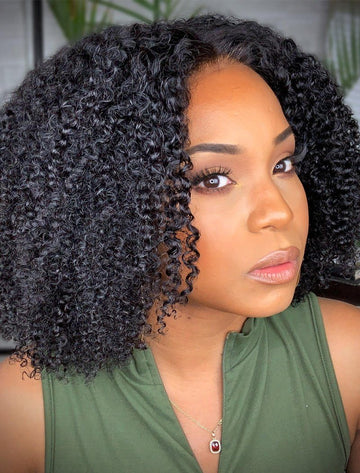
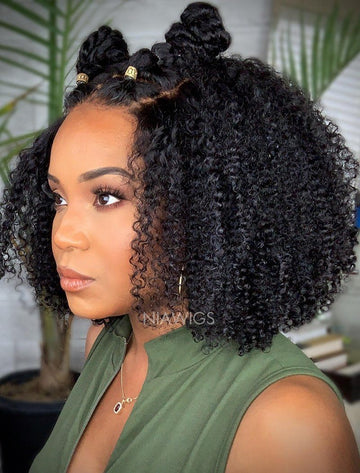
The headband wigs are a popular wig type that does not have any lace parting inside. Instead, it has a velcro band strap to secure the wig, along with comb-like clips attached to the interior section of the wig. Headband wigs are versatile and give you the flexibility of wearing your hair in high ponytails and high-low hairstyles. The curly headband wigs are the most commonly available variant of this wig type.
Wearing Headband Wigs
Step 1: Wear the wig cap
The first step is to wear the wig cap. Your wig order will contain the cap in the package, and you can order additional ones from the NiaWigs accessories section. The wig cap forms a base for securing your wig. You can also skip this step if you don’t want the extra layer of a wig cap, in which case you will need to tie up your hair before putting on the wig.
Step 2: Wear the wig
Once the wig cap is on, you need to wear the wig. Most headband wigs are elastic and offer a snug fit on your head, which gives you a sense of security as the wig won’t come off easily. Be sure to align the wig properly, ensuring the clips and the headband are in the right position.
Step 3: Secure the comb-like clips
The next step is to insert the comb-like clips into the wig cap. This secures the wig and prevents any movement throughout the day. If you skipped wearing the wig cap in step one, push the clips into your hair instead.
Step 4: Seal the velcro strap
Lastly, pull back the velcro ends of the headband on the wig and seal it at the backside of your head. Make sure the velcro is secure, and it won’t come off with a gentle tug.
That’s it! Voila! You are done wearing the wig without any glue or sewing.
Conclusion
One of the biggest benefits of wearing a headband wig is the ease of putting it on. It is as simple as securing the velcro straps and clips. Once secured, you can go ahead and style your hair based on your preferences without any worry about the wig coming off.

